In a world of standardized frames and conventional displays, there’s something refreshingly authentic about going frameless. As someone who’s spent years transforming spaces through thoughtful design, I’ve watched clients’ expressions light up when they see their cherished photos and prints displayed in unexpected ways. The absence of frames doesn’t diminish your art – it often enhances it, creating a more intimate connection between the viewer and the image.
Why Consider Frame-Free Displays?

Frame-free displays offer several advantages that traditional framing simply can’t match:
- Visual lightness: Without heavy frames, your walls maintain an airy, uncluttered feel
- Flexibility: Easily swap images for seasonal changes or new favorites
- Cost-effectiveness: Eliminate expensive framing costs
- Casual approachability: Creates a more relaxed, lived-in atmosphere
- Creative expression: Opens up endless possibilities for personalization
One of my clients once remarked, “It’s like my photos can finally breathe.” This simple observation captures exactly why frame-free displays continue to gain popularity in American homes.
Wall-Mounted Display Ideas
1. Clip It Up
Using clips to display prints offers remarkable versatility. You can create formal symmetrical arrangements or embrace a more casual, overlapping approach.
Client Story: For a Brooklyn couple with limited wall space, we created a stunning display using black metal clips along a single wire. Their travel photography collection became an evolving storyline that they could adjust after each new adventure.
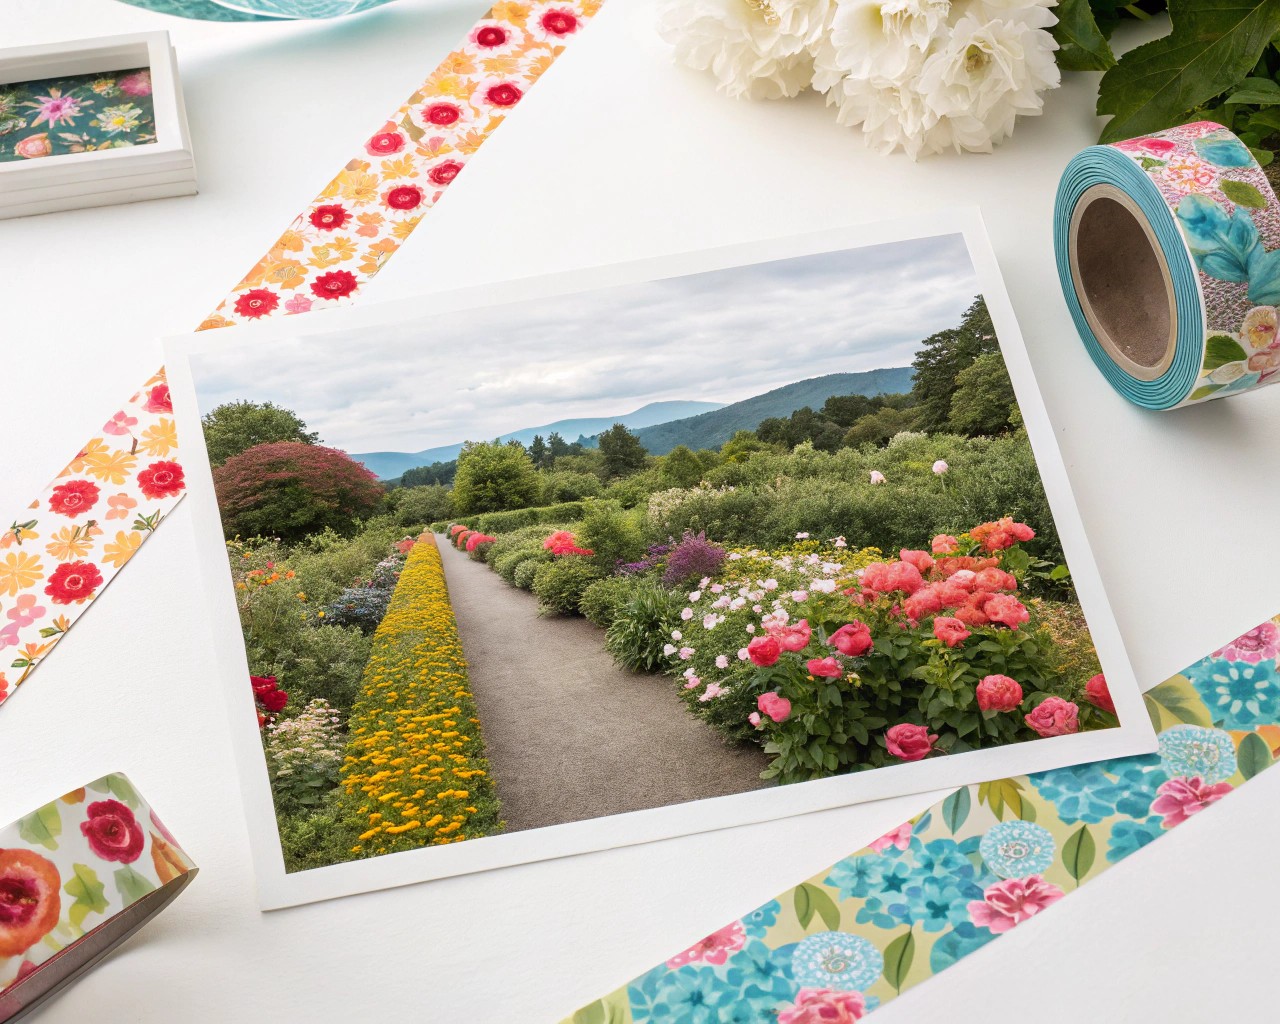
2. Washi Tape Wonder

Don’t be afraid of tape! When used thoughtfully, tape can create elegant, minimalist displays. The key is selecting high-quality materials – I recommend parchment tape cut with clean edges for a refined look.
3. Binder Clip Gallery
Simple binder clips offer a surprisingly sophisticated option for displaying prints. Standard black clips work with most décor styles, but metallic or patterned clips can add unexpected visual interest.
4. Wooden Hangers Repurposed
Those wooden skirt hangers lingering in your closet can find new purpose as photo displays. The natural wood adds warmth, while the functionality makes it easy to switch out prints seasonally.
Surface Display Methods
1. Photo Easels
Photo easels deliver an elegant solution for tabletop displays without frames. I often recommend clients keep a stack of favorite prints nearby for easy rotation.
2. Display Boxes
These innovative alternatives to traditional frames allow you to showcase one image while storing additional prints for easy rotation. They make excellent bookends and conversation pieces.
Personal Insight: I installed a series of these in my own dining room, featuring family recipes alongside photos of the loved ones who created them. Guests inevitably gravitate toward these displays, sparking meaningful conversations about food and family.
3. Triptych Arrangements
The rule of three applies beautifully to photos. Try splitting a single image into three prints and displaying them side-by-side. You can enhance visual interest by varying the sizes slightly.
Creative and Unconventional Approaches
1. Canvas Backings
For an artistically bold statement, use the back of a stretched canvas as a pinboard for photos. This technique creates a dimensional display that stands apart from flat wall arrangements.
2. Oversized and Overlapping
When working with a large wall, consider creating an eye-catching display with oversized prints adhered directly to the wall in overlapping arrangements. Combining photos with and without borders adds compelling visual texture.
3. Photo Ledges
Sturdy wooden photo ledges offer perhaps the most flexible frame-free display option. You can mix and match different print sizes and ledge lengths for a customized look.
Client Transformation: One family transformed their stark minimalist stairwell using a series of ascending photo ledges. What was once a transitional space became a documentary of their lives together, with images they update regularly.
Room-by-Room Recommendations
Different spaces call for different display approaches. Here’s what I typically recommend for specific rooms:
| Room | Best Frame-Free Display Methods | Why It Works |
|---|---|---|
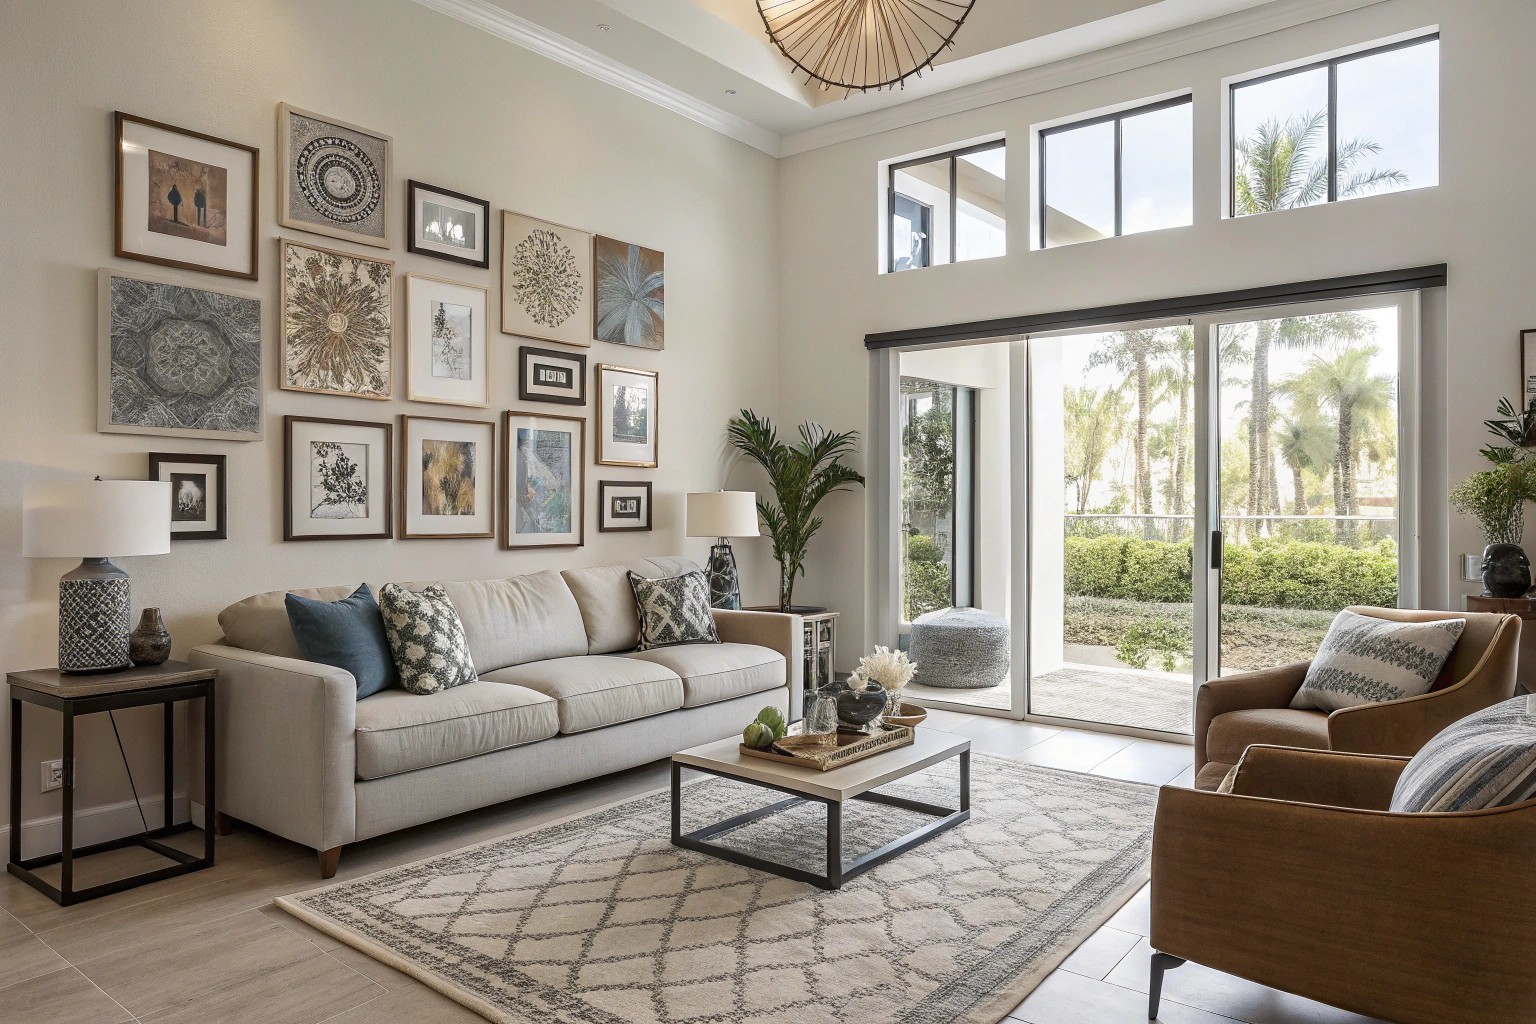
| Living Room | Photo ledges, clipboards, large canvas prints | High visibility deserves flexible options that can be refreshed |
| Kitchen | Washi tape displays, binder clips, magnetic boards | Moisture-resistant options that can withstand temperature changes |
| Bedroom | Easels, canvas backing displays, string lights with clips | Personal spaces benefit from intimate, changeable displays |
| Office | Clipboards, wooden hangers, bulletin boards | Functional spaces need display methods that inspire creativity |
| Hallways | Triptychs, continuous photo ledges, oversized prints | Transitional spaces tell stories as you move through them |
| Bathrooms | Display boxes, easels (on shelves), waterproof adhesives | Humidity-resistant options preserve your prints |
DIY Frame-Free Projects
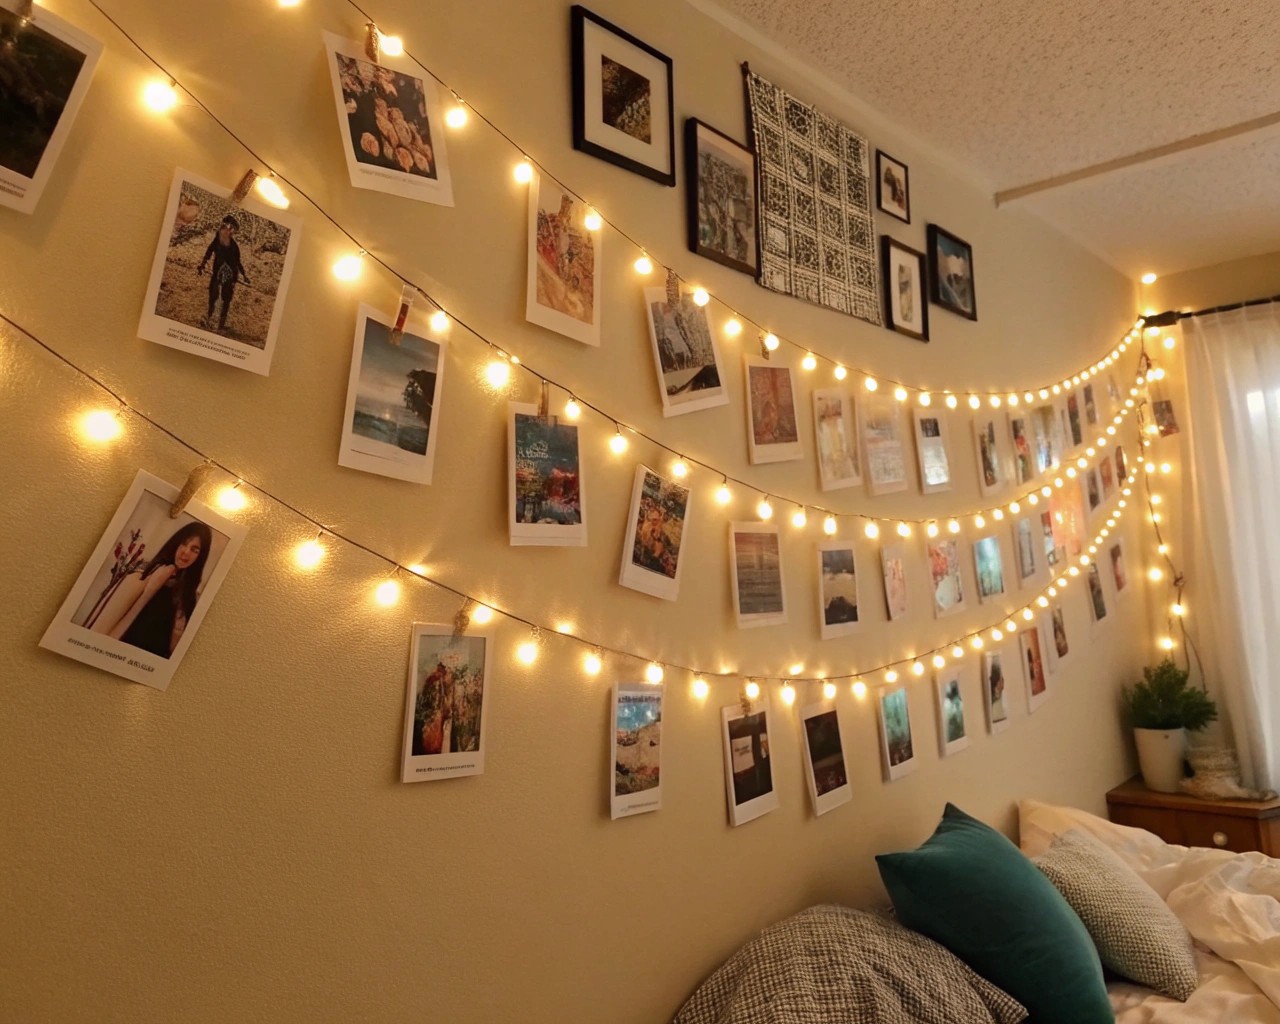
String Light Photo Display

Materials Needed:
- String lights (warm white recommended)
- Mini clothespins or photo clips
- Command hooks or small nails
- Your favorite prints
Steps:
1. Determine your display pattern (straight lines, zigzag, or random)
2. Secure string lights using command hooks or small nails
3. Attach photos using mini clothespins
4. Space images evenly or create intentional clusters
5. Plug in and enjoy the illuminated display
This approach creates a magical atmosphere in bedrooms, teen spaces, or cozy reading nooks. We recently implemented this for a client’s daughter who had just left for college – the soft lighting and personal photos created a space of comfort during a challenging transition.
Clipboard Gallery Wall
Materials Needed:
- Clipboards (various sizes)
- Command strips or picture hanging strips
- Level and measuring tape
- Prints in various sizes
Steps:
1. Arrange clipboards on the floor to finalize placement
2. Take a photo of your arrangement for reference
3. Measure and mark wall positions
4. Attach hanging strips to clipboards
5. Mount clipboards to wall
6. Add photos (leave some space around images for visual breathing room)
Maintaining Your Frame-Free Displays
Without the protection of frames and glass, your prints require some special attention:
- Rotation is key: Regularly switch out prints exposed to direct sunlight
- Consider paper quality: Higher quality photo papers resist fading
- Gentle cleaning: Use a soft microfiber cloth to remove dust
- Handling with care: Touch edges only when arranging
- Climate awareness: Avoid areas with extreme temperature fluctuations
Case Study: The Evolving Family Gallery
The Martins, a family of five from Colorado, wanted to display their growing collection of family photos without the formality and expense of frames. We implemented a multi-approach solution:
- Entry Hall: A photo ledge gallery with seasonal rotation
- Stairwell: Clipboards of varying sizes with annual school photos
- Family Room: Oversized canvas prints of favorite vacation moments
- Kitchen: Magnetic backing on everyday moments, attached to a custom metal board
The result was a home that genuinely told their story. Mrs. Martin expressed her delight with the system’s flexibility, noting how easily they could integrate new experiences into their home’s visual narrative, keeping the display current and meaningful.
Prints That Work Best Frame-Free
Not all images thrive without frames. In my experience, these types perform exceptionally well in frame-free displays:
- Black and white photography: Creates dramatic impact against most wall colors
- Images with natural borders: Provides visual definition without frames
- Series or collections: Creates cohesion through subject matter rather than framing
- High-contrast photos: Stand out without needing frame definition
- Casual snapshots: Maintain their spontaneous feel without formal framing
Personal Philosophy on Frame-Free Displays
After years of designing spaces, I’ve developed a philosophy about displaying images: the method of display should enhance – never compete with – the emotional impact of the image itself.
When you remove frames, you remove a barrier between the viewer and the moment captured. That’s why I believe frame-free displays often create more authentic, emotionally resonant spaces. The focus stays precisely where it belongs – on the memories and artistry within each image.
Combining Traditional and Frame-Free Approaches
You don’t need to abandon frames entirely. Some of the most visually striking displays I’ve created have combined traditional framed pieces with frame-free elements:
- Add tape-mounted photos surrounding existing framed pieces
- Layer smaller unframed prints in front of larger framed artwork
- Create visual “chapters” in your home – some areas framed, others free
- Use frame-free methods for temporary or seasonal displays
Final Thoughts: Freedom in Frame-Free Living
Frame-free displays invite spontaneity, evolution, and personalization into your space. We often become paralyzed by the permanence of traditional framing – the expense and commitment can prevent us from displaying our most cherished images.
By embracing frame-free methods, you free yourself to create more authentic environments that can grow and change as you do. Your walls become living canvases rather than static galleries. And isn’t that what a true home should be – a space that breathes and evolves with the people who live within it?
Whether you’re displaying professional photography or beloved family snapshots, consider giving them room to breathe outside the confines of traditional frames. Your space will feel more authentically yours for it.

